

Photo by Andrew Neel on Unsplash
Semantic Pull Requests on Github
Learn how to automate pull request & commits checking, based on conventions!


Introduction
Conventional Commits
The Conventional Commits particular is a lightweight show on top of commit(message). It gives a simple arrangement of rules for making an express comit history; which makes it simpler to compose robotized apparatuses on top of. This show dovetails with SemVer, by portraying the highlights, fixes, and breaking changes made in commit messages.
The above statement basically means that conventional commits provide the author of a commit a set of rules which he should abide for monotonous & disciplinary development.
Why?
- Consequently producing CHANGELOGs.
- Consequently deciding a semantic variant knock (in view of the sorts of submits landed).
- Conveying the idea of changes to partners, people in general, and different partners.
- Setting off form and distribute processes.
- Making it simpler for individuals to add to your tasks, by permitting them to investigate a more organized commit history.
Semantic Pull Requests
The semantic pull request probot guarantees that each PR has barely sufficient semantic data to have the option to set off a release when proper & possible. The objective is to accumulate this semantic data in a manner that doesn't make life harder for project donors, particularly rookies who may not know how to alter their git commit history.
Examples of semantic commit:
chores: update deps
fix: invalid constant
fix(deps): invalid constant
refactor: `index.js`
docs: update example

feat: add hat wobble
^--^  ^------------^
|     |
|     +-> Summary in present tense.
|
+-------> Type: chore, docs, feat, fix, refactor, style, or test.
Installing
To Install the probot on your account(or organisation), you must go over to github.com/apps/semantic-pull-requests.
Click on configure. That might take you to:
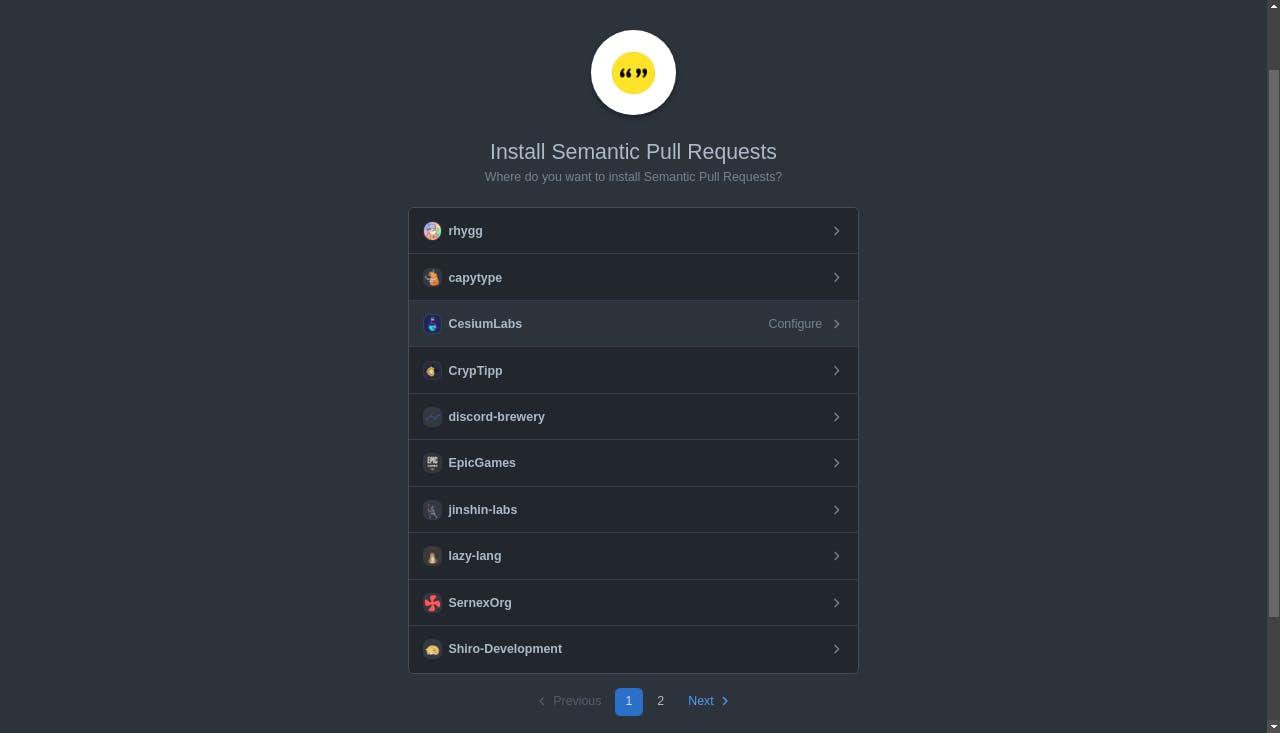
For this particular tutorial I will be installing it on my user account, but you can install it into your organisation or request installation from your organization owner.
Next, you might see something like this:
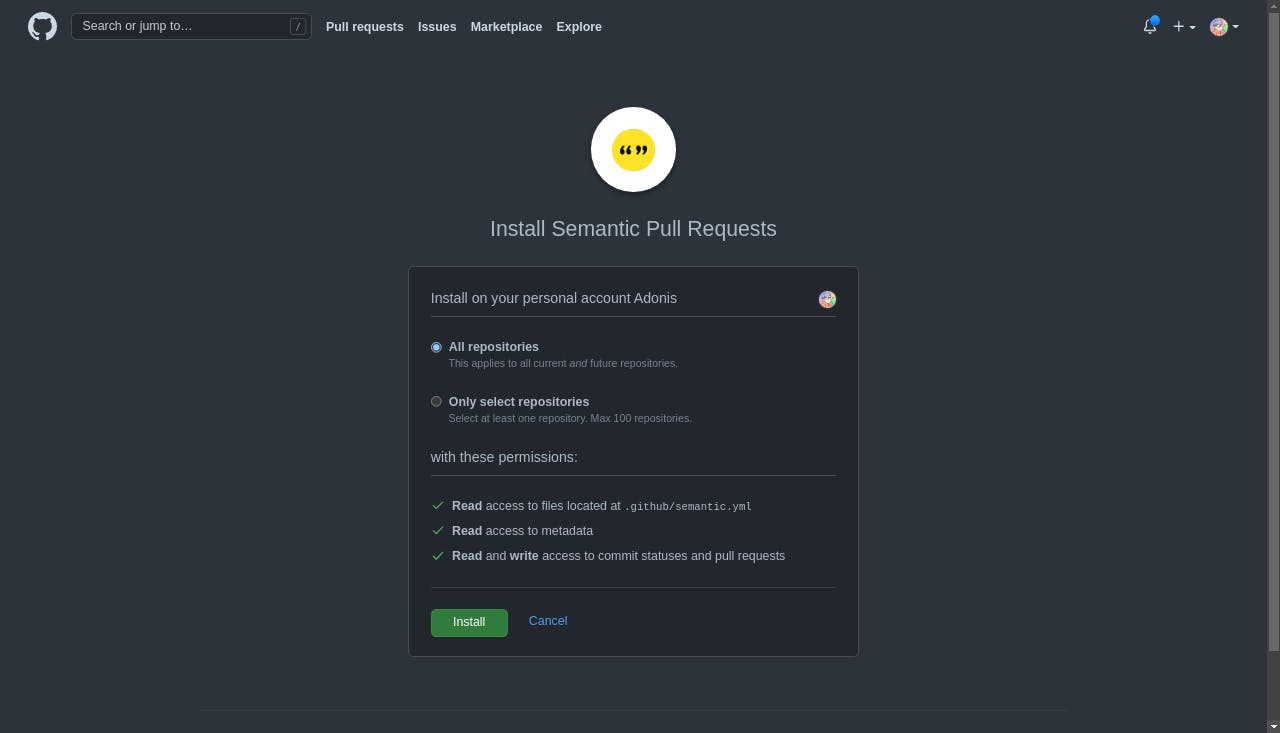
Grant access to the bot, depending upon your requirements & repositories, and then click on install.
Config
A config must live inside .github/semantic.yml, in the repositories that you have given it(the bot) access to.
The most apt & orotund example configuration would be:
titleAndCommits: true
allowMergeCommits: false
scopes:
  - deps
  - deps-dev
types:
  - feat
  - fix
  - docs
  - style
  - refactor
  - perf
  - test
  - build
  - ci
  - chore
  - revert
  - merge
Breaking it down
titleAndCommits- This checks for semantic validation of the title and commits of the Pull Request. You might also want to check for semantic titles or just for the commits, for that you can do the follows:titleOnly: trueorcommitsOnly: trueanyCommit- This requires only one commit in the PR to be valid, all others are automatically valid. But this parameter is only valid whencommitsOnly: trueortitleAndCommits: trueallowMergeCommits- Whether to allow use of merge commits or not. But this parameter is only valid whencommitsOnly: trueortitleAndCommits: trueallowRevertCommits- Whether to allow use of revert commits or not. But this parameter is only valid whencommitsOnly: trueortitleAndCommits: truetypes- Types are the of commit format.example:
   feat: hello world
     ^
     |
     +--> here feat is the type.
Some pre-defined types were already set as a boilerplate. You may use inherit or extend then as per your requirements.
scopes- Allows you to define a list of valid scopes.
Scopes are basically a valid region where you want to do a commit type. For example:
fix(deps): invalid constant
Here deps is the scope.
And that's it!
Every time there is a pull request or commit, the bot will validate the commits & pull request titles as per the configuration file made by you!
Hope you enjoyed this blog, until next time! 🦄